In my quest for a seamless and secure remote access solution, I recently set up Apache Guacamole in my homelab, making it publicly accessible through Cloudflare Tunnel. While exposing a remote desktop gateway to the internet might sound risky, I took extra precautions to ensure it remains secure.
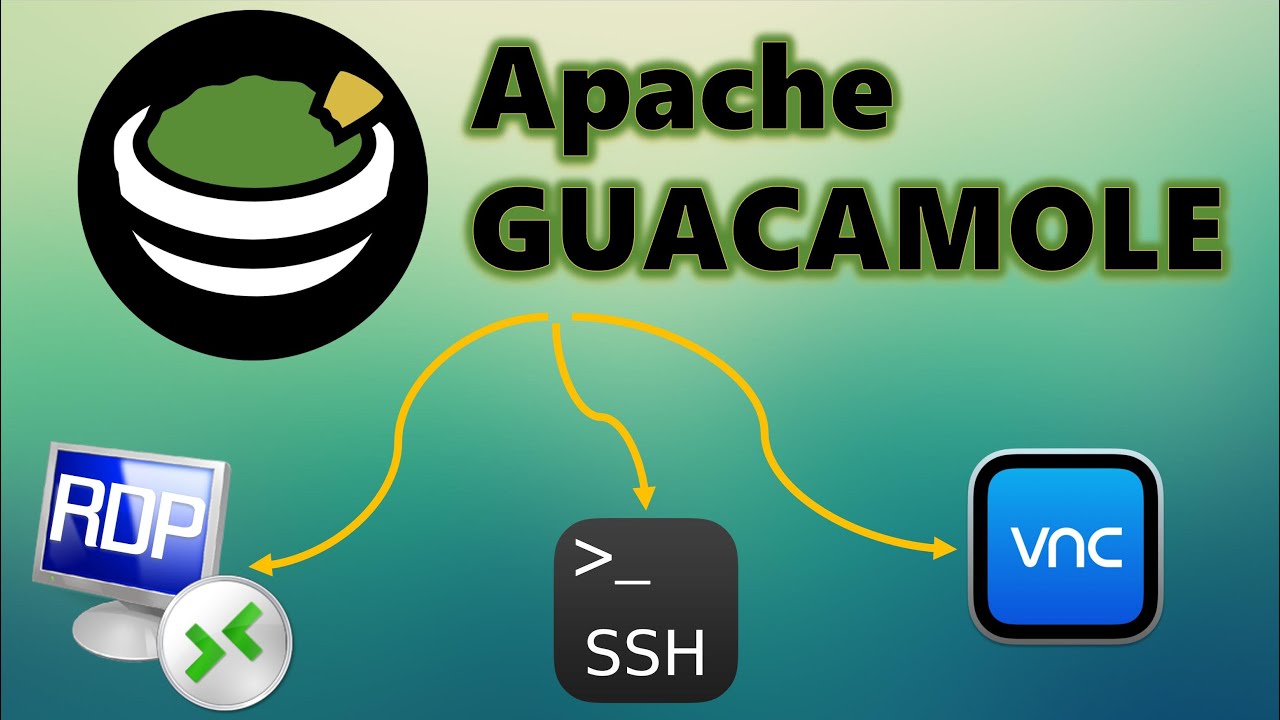
Why Apache Guacamole?
✅ Web-based: No need for additional software installation
✅ Supports RDP, SSH, and VNC
✅ Lightweight & Open-source
✅ Centralized Access Management
Apache Guacamole was the perfect choice, allowing me to access my homelab machines from anywhere with just a browser. This web-based solution eliminates the need for heavy client-side software, making it ideal for lightweight, remote access.
Step-by-Step Setup Process
1️⃣ Deploying Guacamole in My Homelab
✔ Installed Guacamole using Docker
✔ Configured a Postgres database for authentication
✔ Set up user permissions and connections
Guacamole was now running smoothly within my local network, but I needed a secure way to access it remotely.
2️⃣ Securing Access with Cloudflare Tunnel
To avoid exposing Guacamole via port forwarding, I used Cloudflare Tunnel, which offers:
🔹 No Open Ports on Router – Eliminating direct exposure to threats
🔹 DDoS Protection – Traffic is routed securely through Cloudflare
🔹 Automatic HTTPS – SSL encryption without manual setup
🔹 Zero Trust Authentication – Restricting access to authorized users only
3️⃣ Locking It Down with Cloudflare Access
To further tighten security, I implemented Cloudflare Access:
✅ Restricted login to only my Google account
✅ Prevented unauthorized access, even if the URL is exposed
✅ Used Cloudflare’s OAuth authentication for seamless login
Comparing Cloudflare Tunnel vs. VPN for Remote Access
When setting up secure remote access to my homelab, I considered both Cloudflare Tunnel and a VPN as potential solutions. Here’s a comparison of the two:
1. Cloudflare Tunnel
🔹 Ease of Use: No need to configure VPN clients or deal with VPN software. Simply access your Guacamole instance via a browser.
🔹 Security: Cloudflare Tunnel uses Zero-Trust Authentication, enforcing strict login controls and protecting your access without exposing any ports.
🔹 No Open Ports: Your local network is not exposed to the internet at all, as Cloudflare Tunnel creates an outbound connection rather than an inbound one.
🔹 Performance: Cloudflare optimizes the routing of traffic, providing potentially better performance than a traditional VPN.
🔹 Scalability: Cloudflare Tunnel can scale easily without needing complex network configuration.
🔹 Additional Features: Integration with Cloudflare’s Web Application Firewall (WAF), rate limiting, and DDoS protection make it a robust choice for security.
🔹 Accessibility: You can access your homelab from anywhere with just a browser—no additional client software is required.
2. VPN (Virtual Private Network)
🔸 Ease of Use: Setting up a VPN can be more complex, requiring the installation of a client on every device that will access the homelab.
🔸 Security: VPNs provide a secure tunnel, but if not configured correctly, they can expose your home network. You also have to manage IP whitelisting and potentially deal with vulnerabilities in the VPN protocol.
🔸 Open Ports: VPNs usually require open ports to allow incoming connections. This creates a potential attack surface, making the network more vulnerable to exploitation.
🔸 Performance: VPNs can potentially slow down your connection due to the encryption overhead, depending on the protocol and network conditions.
🔸 Scalability: Scaling a VPN setup to multiple users or devices can become cumbersome, especially if you’re managing multiple connections.
🔸 Access Control: While VPNs can be combined with multi-factor authentication (MFA), it’s still generally less flexible than Cloudflare Access’s Zero Trust model.
🔸 Network Exposure: Since VPNs work by granting access to your entire network, you risk giving broader access than needed.
Which is Better for Remote Access?
While both solutions have their merits, I found Cloudflare Tunnel to be a better fit for my homelab for several reasons:
- No Exposed Ports: With VPNs, I would have to open ports, which could increase risk. Cloudflare Tunnel avoids this completely.
- Ease of Access: Cloudflare Tunnel provides access via a simple web interface with no client-side configuration required, whereas a VPN would require me to configure VPN clients on every device.
- Security Features: Cloudflare’s integration with its Web Application Firewall (WAF), rate-limiting, and DDoS protection added an additional layer of security that would be more complicated to configure with a VPN.
- Zero Trust Authentication: The ability to restrict access to only my Google account with OAuth provides greater control over who can access the system. With a VPN, I would have to rely on less granular user controls.
Why Cloudflare Tunnel Comes in Handy with a VPN
While I primarily use VPN for my homelab’s internal network access, I’ve found that Cloudflare Tunnel is incredibly useful in several scenarios where a VPN might not be ideal:
1. Quick Access Without VPN Client
When I need to access my homelab from a device where setting up a VPN client is inconvenient (e.g., public or shared computers), Cloudflare Tunnel is a lifesaver. I can simply log in through a browser and access Guacamole without dealing with VPN configurations.
2. Remote Access from Restrictive Networks
Many networks (like public Wi-Fi or corporate networks) block VPN traffic. In these cases, Cloudflare Tunnel allows me to bypass these restrictions, as it uses standard HTTP(S) traffic, which is less likely to be blocked.
3. Simplified Access for Non-Technical Users
When I need to give remote access to non-technical users (like family or friends), Cloudflare Tunnel is ideal. I don’t need to explain how to install or configure a VPN client. They just log in with their Google account via the browser.
4. Less Overhead for Occasional Use
If I’m just accessing my homelab occasionally (e.g., to check logs or perform a quick task), using a VPN might feel like overkill. In these cases, Cloudflare Tunnel provides a more lightweight and hassle-free solution without requiring a full VPN connection.
Additional Security Measures
To further harden my setup, I implemented the following:
🔒 Multi-Factor Authentication (MFA) – Secured my Google account with 2FA
⏳ Session Limits – Restricted long-lived logins to minimize risks
📋 Clipboard Restrictions – Disabled clipboard sharing to prevent data leaks
🛡 Cloudflare WAF Rules – Added Web Application Firewall (WAF) to detect unusual access patterns
The Final Setup
With everything in place, I can now securely access my homelab from anywhere using just a browser. This setup provides:
✅ Ease of access – No additional software needed
✅ Layered security – Multiple authentication and security measures
✅ Peace of mind – Knowing my remote access is well-protected
Setting up this system was a rewarding experience, reinforcing the importance of layered security when exposing services online. Now, I have the best of both worlds: convenience and robust security.

Post Comment